Set up a custom domain for the Email Marketing app
Set up a custom domain for Email Marketing
Using a custom domain allows you to send emails from your own branded domain instead of a shared sending domain. This helps improve inbox placement and customer trust.
Step 1: Open Custom Domain Settings
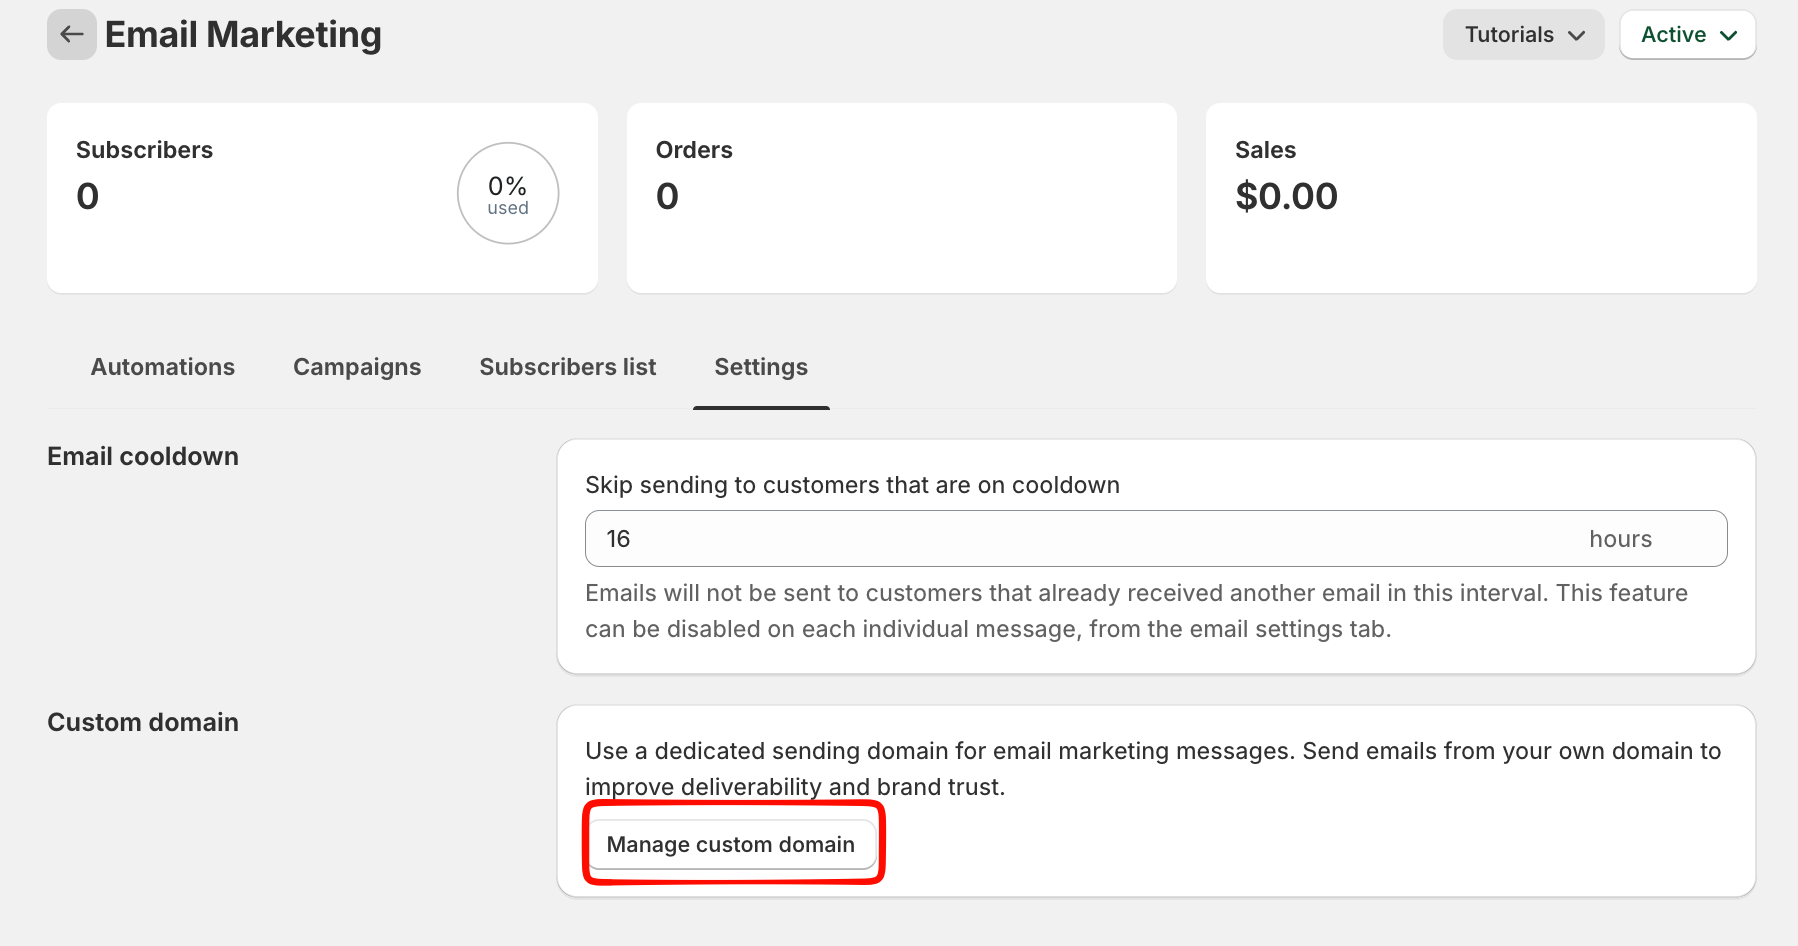
- Go to the Email Marketing app
- Click Settings
-
In the Custom domain section, click Manage custom domain

Step 2: Enter Your Domain
Enter the domain or subdomain you want to use for sending emails.
Example:
-
yourShopifydomain.myshopify.com(recommended)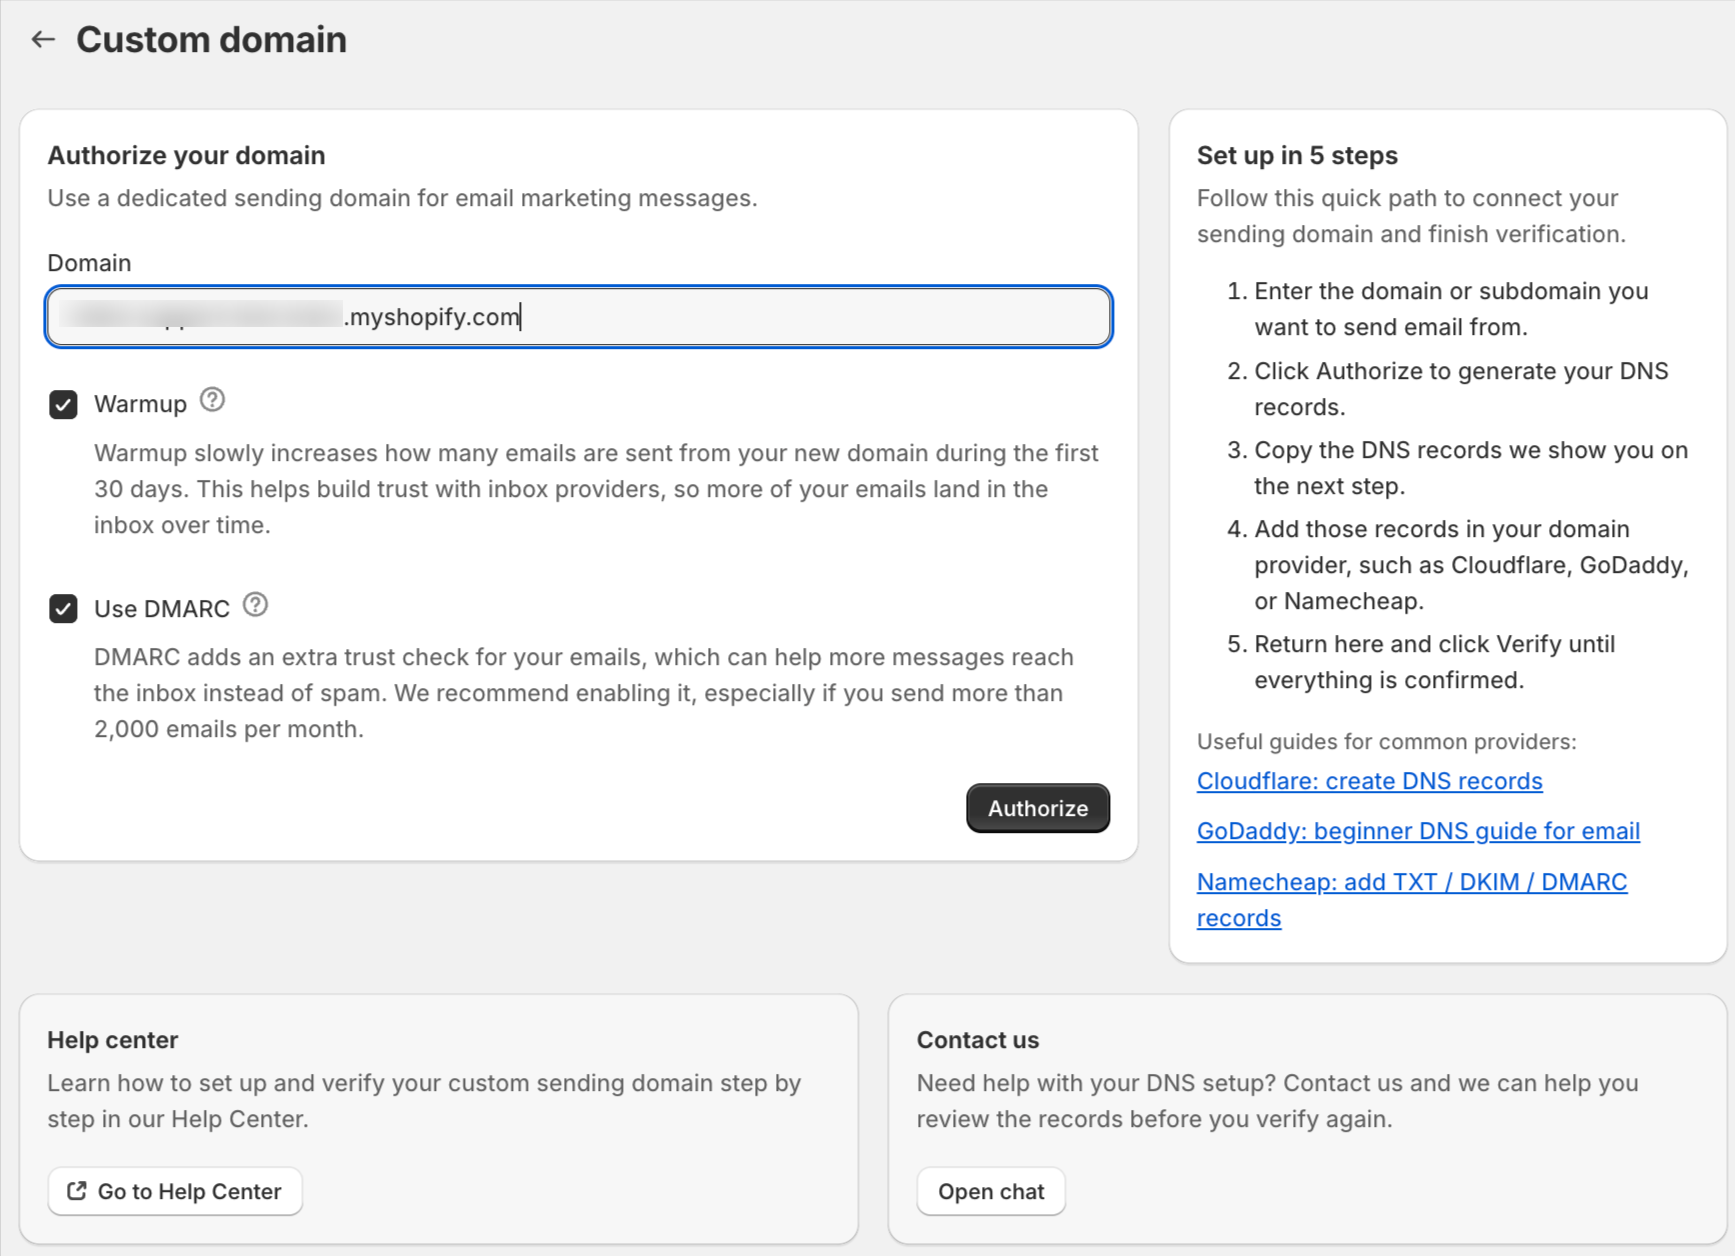

You can also enable:
- Warmup – gradually increases sending volume over the first 30 days
- Use DMARC – adds an extra layer of email authentication.
Click Authorize to continue.
Step 3: Add DNS Records
After authorization, you will see a list of DNS records.
-
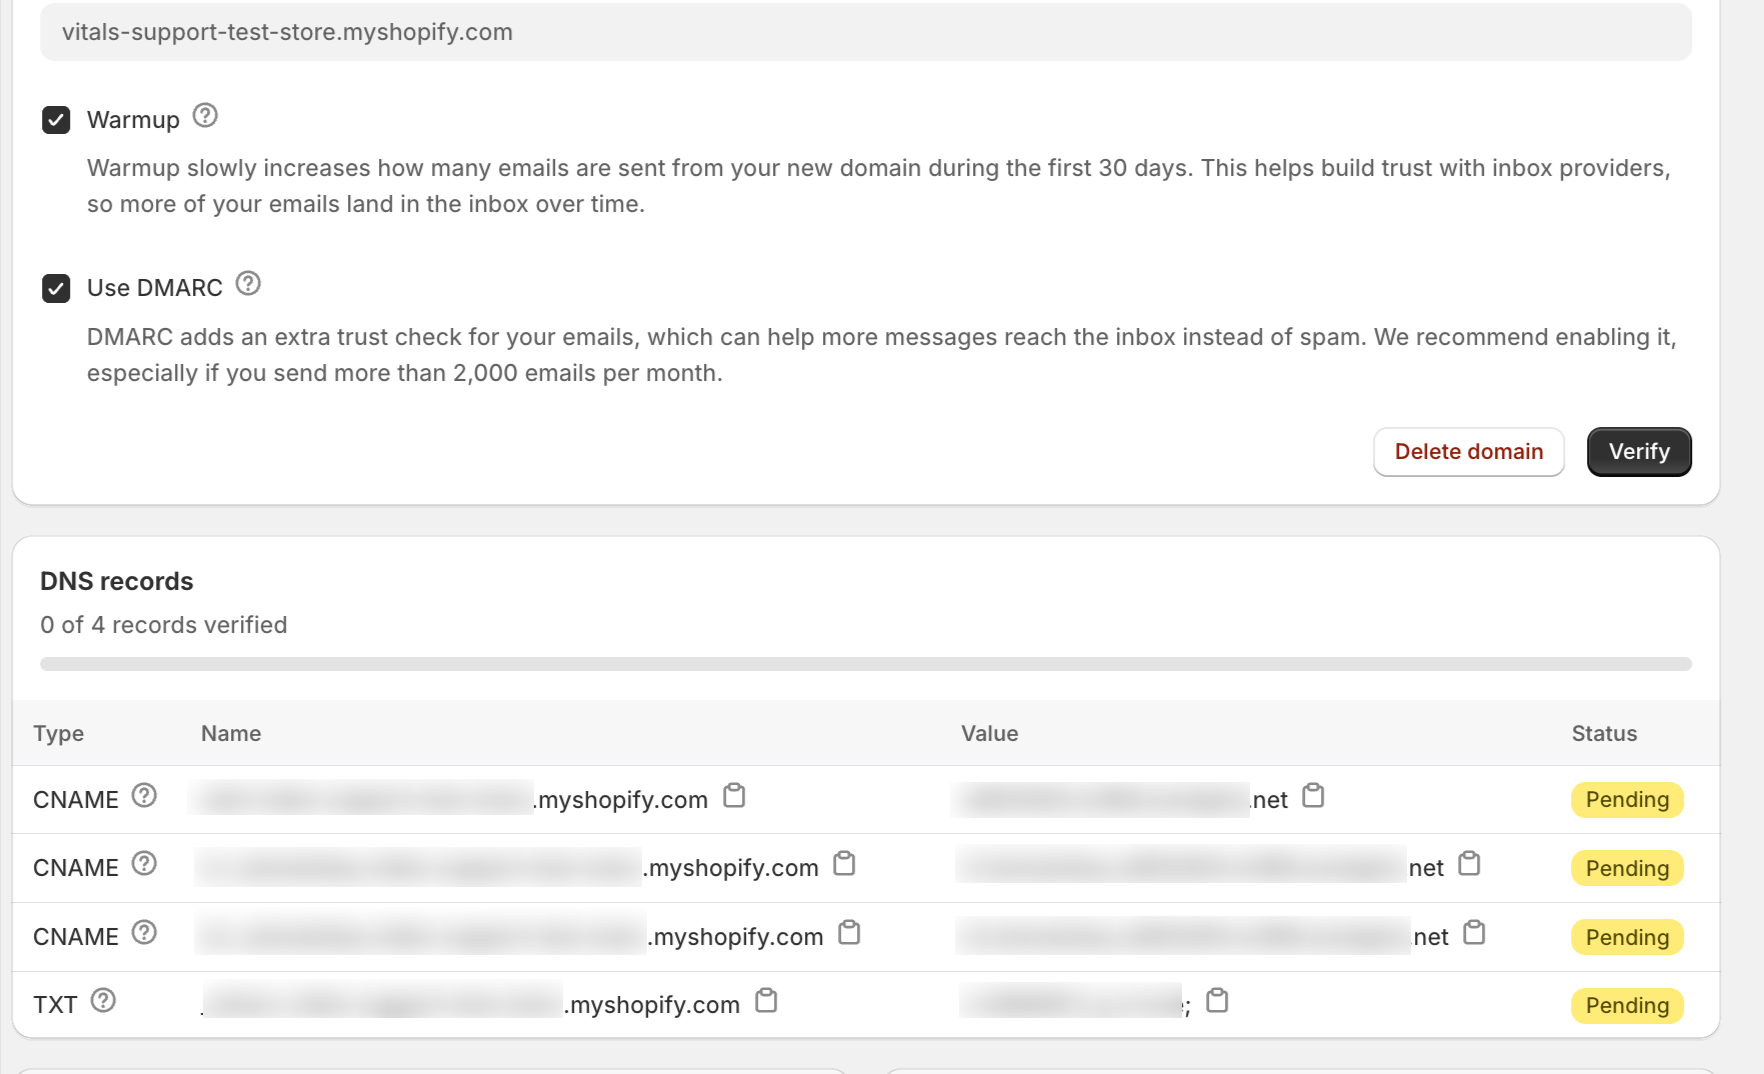
- Log in to your domain provider (e.g., GoDaddy, Namecheap, Cloudflare)
- Add each DNS record exactly as shown in the app (interface may differ depending on domain provider).

Step 4: Wait for DNS Propagation
DNS changes may take 10 minutes to 24 hours to update.
Step 5: Verify Your Domain
- Return to the Custom domain page
-
Click Verify
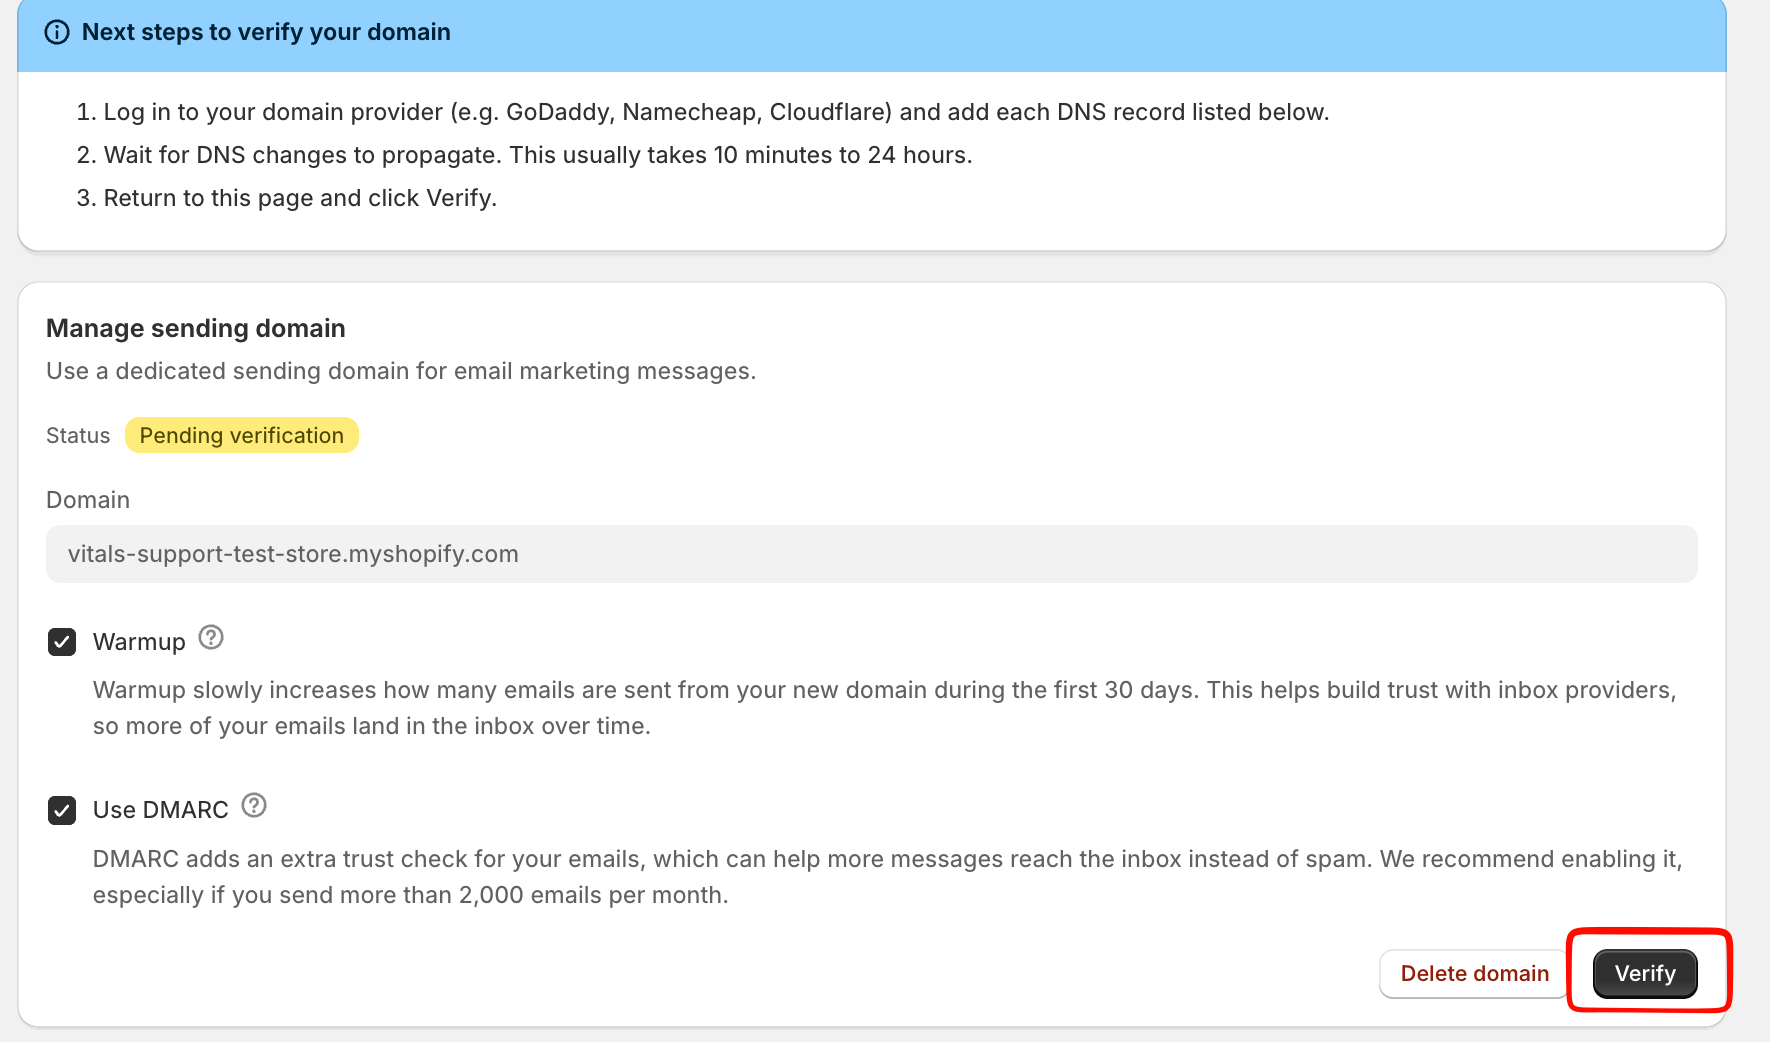

Once all records are confirmed, your domain status will change to Verified.
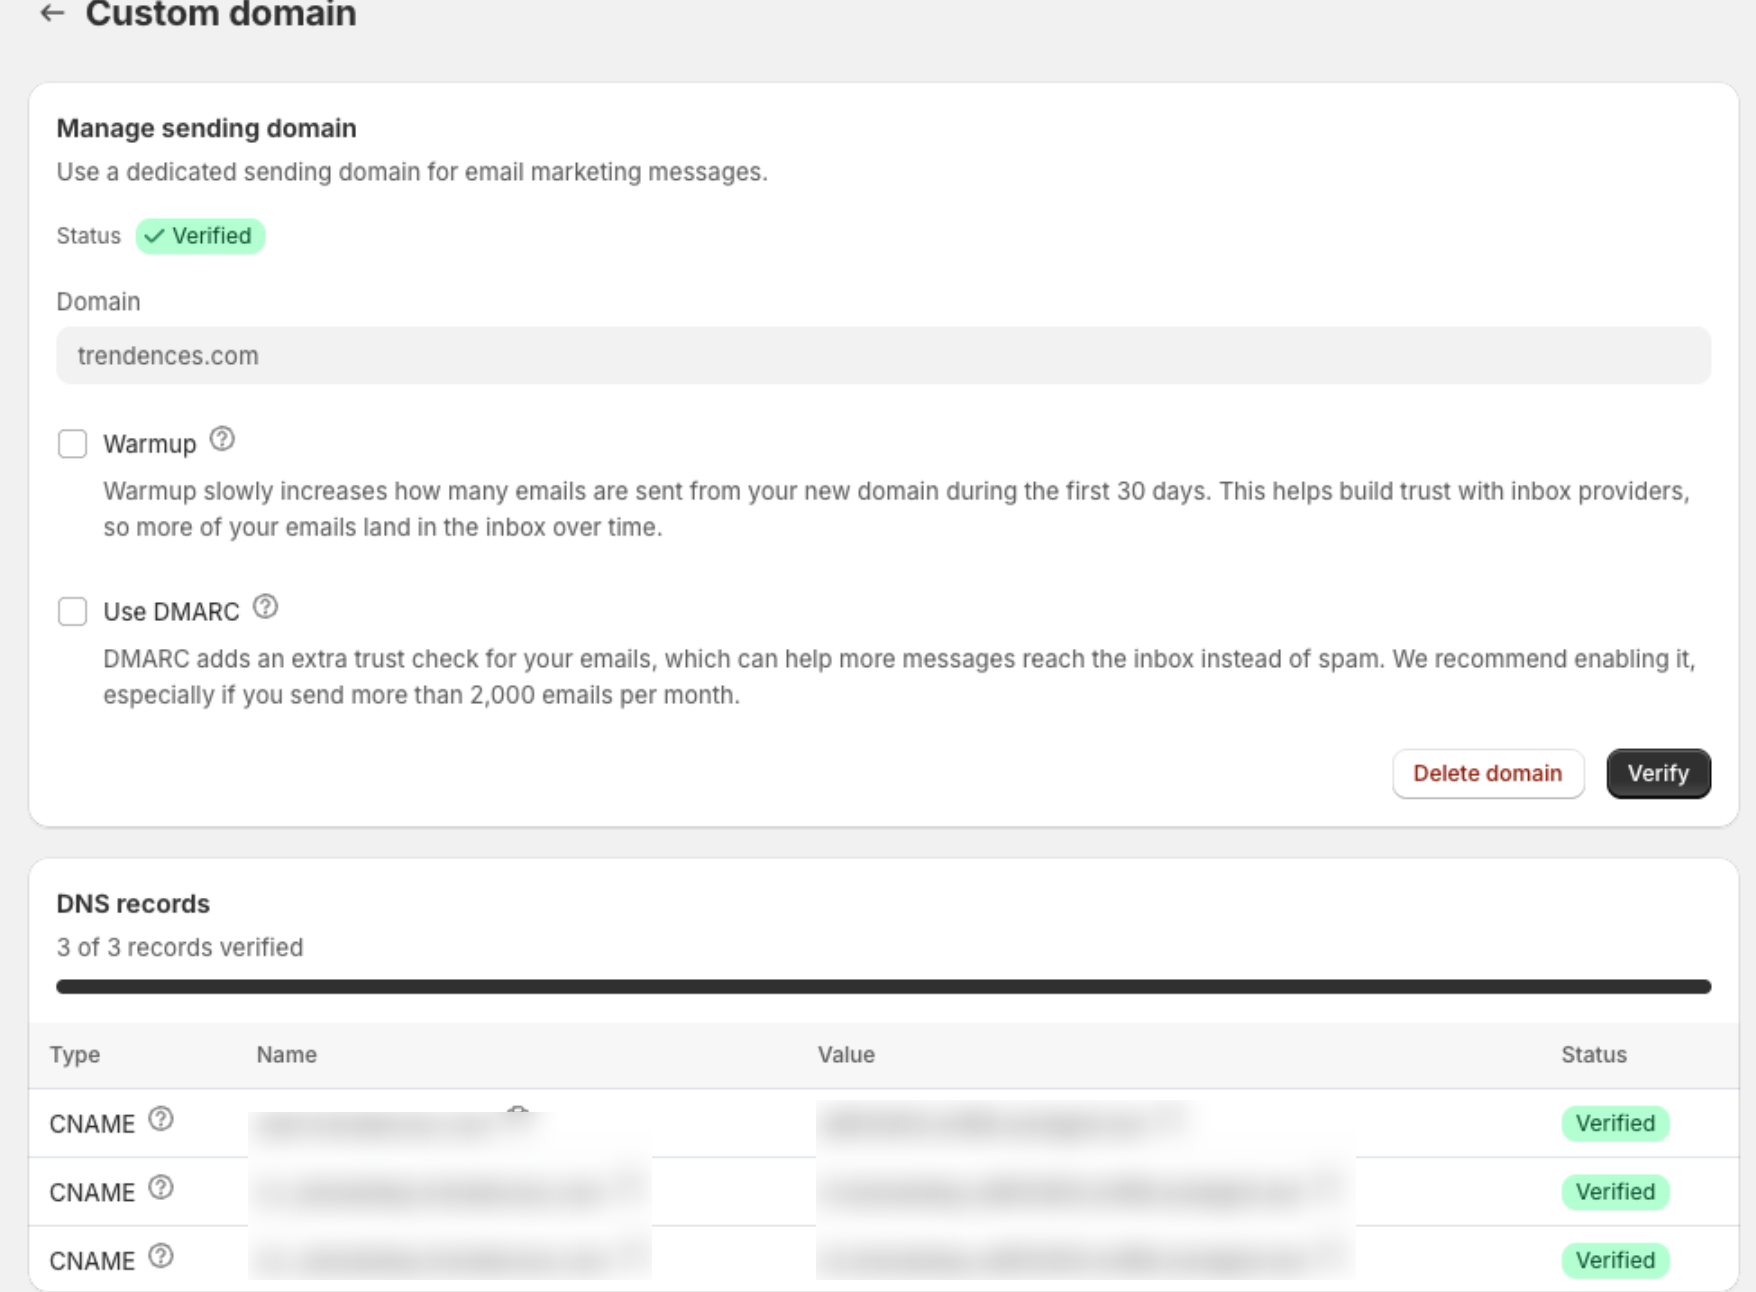
Domain Statuses
- Pending verification – DNS records not yet detected
- Verified – domain is ready to send emails
Manage Your Domain
After setup, you can:
- Enable or disable Warmup
- Enable or disable DMARC
- Re-run verification
- Delete the domain